 Oldsmar Siding
 New-Construction Windows for Town 'N Country Homes
Building new in Town 'N Country means making window decisions that will either serve the house for decades or turn into a maintenance headache within a few years. Unlike a retrofit, new construction gives you a clean opportunity to get the window opening, flashing, and unit selection right from the start — no working around old framing, no compromises forced by an existing rough opening. We treat that opportunity seriously, because the choices made during framing and window-in determine how the house performs in Gulf coast weather for the next 20-plus years.
Town 'N Country sits in the Tampa Bay corridor, which means new builds here face the same climate pressures as the rest of Pinellas and Hillsborough counties: hurricane-force wind events, sustained wind-driven rain, intense UV exposure nearly year-round, and salt-laden air moving in off the Gulf. Windows installed during new construction have to be selected and installed with all four of those factors in mind, not just one.
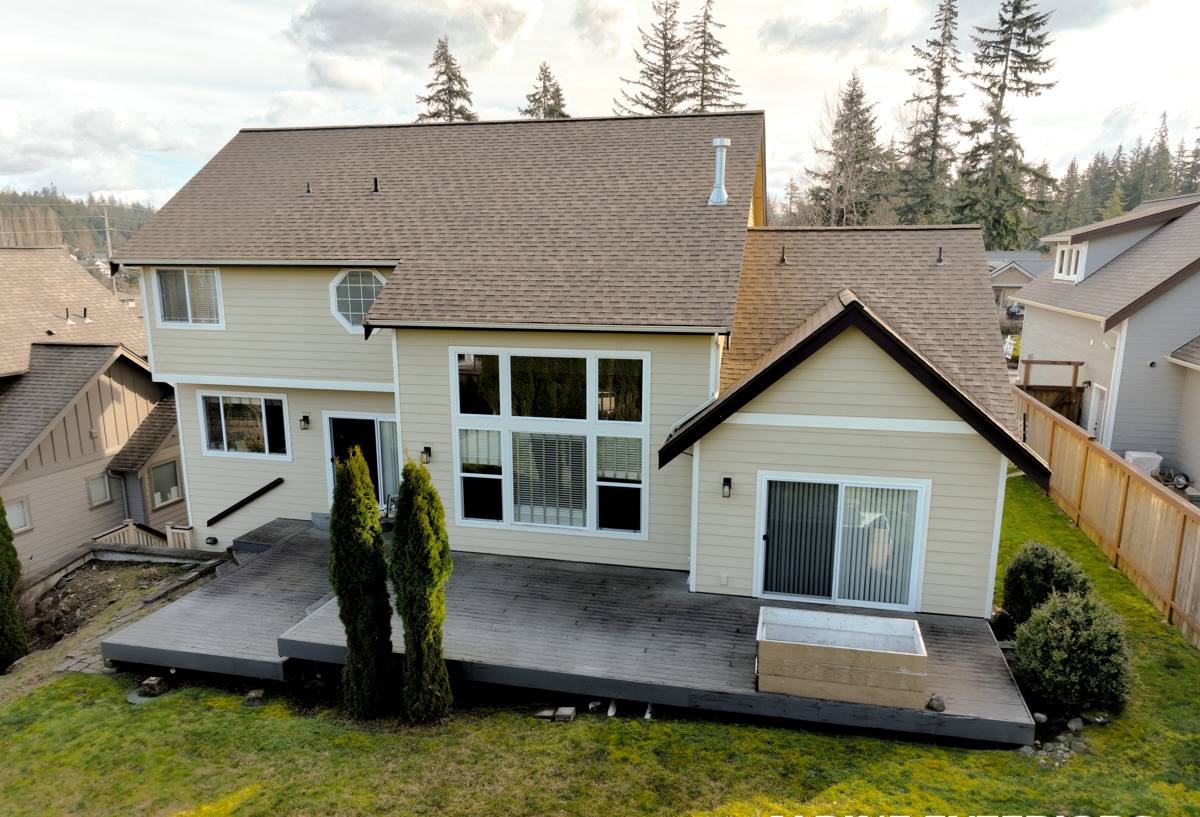
What New-Construction Windows Actually Require
"New-construction window" is a specific product category, different from a replacement or retrofit window. It has a nailing fin (or flange) built into the frame that gets fastened directly to the sheathing before siding or stucco goes on, and it's installed before the exterior weather barrier is finished around the opening. That makes correct flashing sequence and fastener placement critical — mistakes here get buried behind the wall finish and aren't visible again until there's a leak.
Why Sequence Matters
A new-construction window has to be integrated into the wall's water management system, not just bolted into a hole. The house wrap or weather-resistant barrier, the flashing tape or membrane, and the window's nailing fin all need to overlap in the correct shingle-style order so that any water that gets behind the exterior cladding drains down and out, not into the wall cavity. Get this wrong and you won't see it until drywall staining, mold, or rot shows up — often years later and after the warranty conversation has already gotten complicated.
Climate Factors That Should Drive Your Window Spec
| Climate Factor | What It Does to Windows | What We Spec For It |
|---|---|---|
| Hurricane-force wind | Pressure cycling stresses frames and glass; wind-borne debris can breach unprotected glazing | Impact-rated glazing or approved protection meeting Florida Building Code wind zone requirements for the address |
| Wind-driven rain | Pushes water sideways and upward into gaps that gravity-only flashing designs miss | Full sill pan flashing, correctly lapped fin flashing, and tested water-infiltration ratings |
| Year-round intense UV | Degrades vinyl frames, breaks down low-quality seals, and fades interior finishes through unprotected glass | UV-stable frame materials and Low-E coated glass packages |
| Salt air | Accelerates corrosion of hardware, fasteners, and some frame components | Corrosion-resistant hardware and fasteners rated for coastal exposure |
Building Codes and Wind Zones in Pinellas County
New construction in Pinellas County falls under the Florida Building Code, and depending on the specific parcel and its distance from the coast, that can mean High-Velocity Hurricane Zone-adjacent requirements or standard wind-borne debris region rules. Town 'N Country's inland position relative to the immediate coastline doesn't exempt a build from wind-load and impact requirements — the applicable design pressure and product approval requirements are determined by the local building department based on the specific site, structure height, and exposure category, not by neighborhood reputation. We pull the actual permit requirements for the parcel rather than assuming based on similar builds nearby, because two lots a few streets apart can carry different exposure ratings.
Every window we install on a new-construction job carries a valid Florida product approval (FL# or Miami-Dade NOA where required) matched to the design pressure requirements for that specific opening size and wall location. That paperwork isn't a formality — it's what a building inspector checks, and it's what an insurance company or future buyer's inspector will ask about if it's ever missing.
Common Code-Related Mistakes We See
- Using a single design pressure rating across a whole elevation without checking that larger openings need a different rated product
- Missing or mismatched product approval labels on delivered units versus what was permitted
- Sill pan flashing skipped or improvised instead of using a manufactured or built-up sloped pan
- Fastener schedule not matching the manufacturer's tested installation instructions (which is what the product approval is actually based on)
- Rough openings framed out of square or out of plane, forcing shims that compromise the frame's structural attachment
Our New-Construction Installation Process
1. Opening Verification
Before a single window arrives on site, we verify rough opening dimensions against the approved window schedule and confirm the framing is square, plumb, and structurally ready to receive the fastener pattern the product approval requires.
2. Sill Pan and Flashing Install
We install sloped sill pan flashing at every opening — this is the single most important detail for keeping wind-driven rain out of the wall assembly, and it's also one of the most commonly skipped steps on production builds working on a tight schedule.
3. Window Set and Fastening
Units are set plumb, level, and square, then fastened per the manufacturer's tested schedule — spacing and fastener type aren't a matter of preference, they're what the product approval is actually rated for.
4. Flashing Integration
Head, jamb, and fin flashing are integrated with the house wrap in the correct shingle-lap order so the whole wall's drainage plane works as one system, not a patchwork.
5. Final Check and Documentation
We photograph flashing details before they're covered by siding or stucco and keep product approval documentation on file, so there's a record if it's ever needed for insurance, resale, or a future repair.
Choosing the Right Window for a Town 'N Country Build
Frame material, glass package, and operating style all affect how a window holds up here. Vinyl frames are common and cost-effective but vary widely in UV stability between manufacturers; we spec products with UV-stabilized formulations rather than the cheapest available vinyl. Aluminum frames handle structural loads well but conduct heat, so glass package matters more to offset energy performance. Fiberglass costs more upfront but resists both UV degradation and thermal movement well in this climate.
Low-E glass coatings cut down on UV-driven fading and reduce cooling loads in a climate where air conditioning runs most of the year. Impact-rated laminated glass adds a layer of storm protection but also has a meaningful cost step up from standard glazing with separate shutters — that's a real budget conversation worth having early, not after the windows are ordered.
Cost Factors to Discuss Before You Order
- Impact-rated glazing versus standard glass with separate hurricane protection
- Number and size of openings — larger openings often require heavier-duty, higher-cost hardware to meet the same design pressure
- Frame material and finish (standard color versus custom)
- Grille patterns or specialty shapes, which add labor and lead time
- Energy package upgrades (Low-E variants, gas fill) versus baseline glass
Why Local Installation Experience Matters
A crew that only occasionally works in Pinellas County has to relearn the local wind zone maps, the county's specific inspection expectations, and which flashing details actually hold up to a Gulf coast rain event every time they take on a job here. A crew that works Town 'N Country and the surrounding area regularly already knows what the local building department looks for at inspection, has already made the mistakes that come with hurricane-zone flashing details, and isn't guessing at how a given product approval applies to a specific opening. That familiarity shows up in fewer failed inspections, fewer callbacks, and windows that are actually ready for the next storm season rather than just ready to pass a walkthrough.
Maintenance Expectations After Install
Even a correctly installed new-construction window needs some ongoing attention in this climate. Salt air accelerates corrosion on hardware and hinges faster than it does inland, so periodic rinsing of frames and hardware helps extend service life. Weep holes at the sill need to stay clear of debris and paint overspray so the window can drain as designed. And exterior caulking at the trim line — separate from the structural flashing underneath — should be inspected every year or two, since UV exposure breaks down sealants faster here than in milder climates.
If you're planning a new build or addition in Town 'N Country and want windows specified and installed correctly the first time, we're glad to walk the plans with you and put together a straightforward estimate — no pressure, just a clear look at what your project actually needs. The form below is the easiest way to get started.