 Oldsmar Siding
 Storm Damage Roof Repair for East Lake Homes
East Lake sits close enough to the coast to catch salt air off the Gulf, but far enough inland that homeowners here deal with a mix of problems: tropical-system wind gusts, sudden downpours that come in sideways, and the kind of year-round sun that ages roofing materials faster than most people expect. When a storm rolls through Pinellas County, it rarely announces itself with a single obvious hole in the roof. More often it's a lifted shingle tab, a cracked pipe boot, or a seam of flashing that got worked loose just enough to let water in during the next rain. That's the damage that costs homeowners the most, because it goes unnoticed until there's a stain on a ceiling or soft decking in the attic.
This page covers what storm damage roof repair actually looks like for homes in and around East Lake — what the climate does to roofs here, what a correct repair involves, and how we approach the job from the first call to the final inspection.
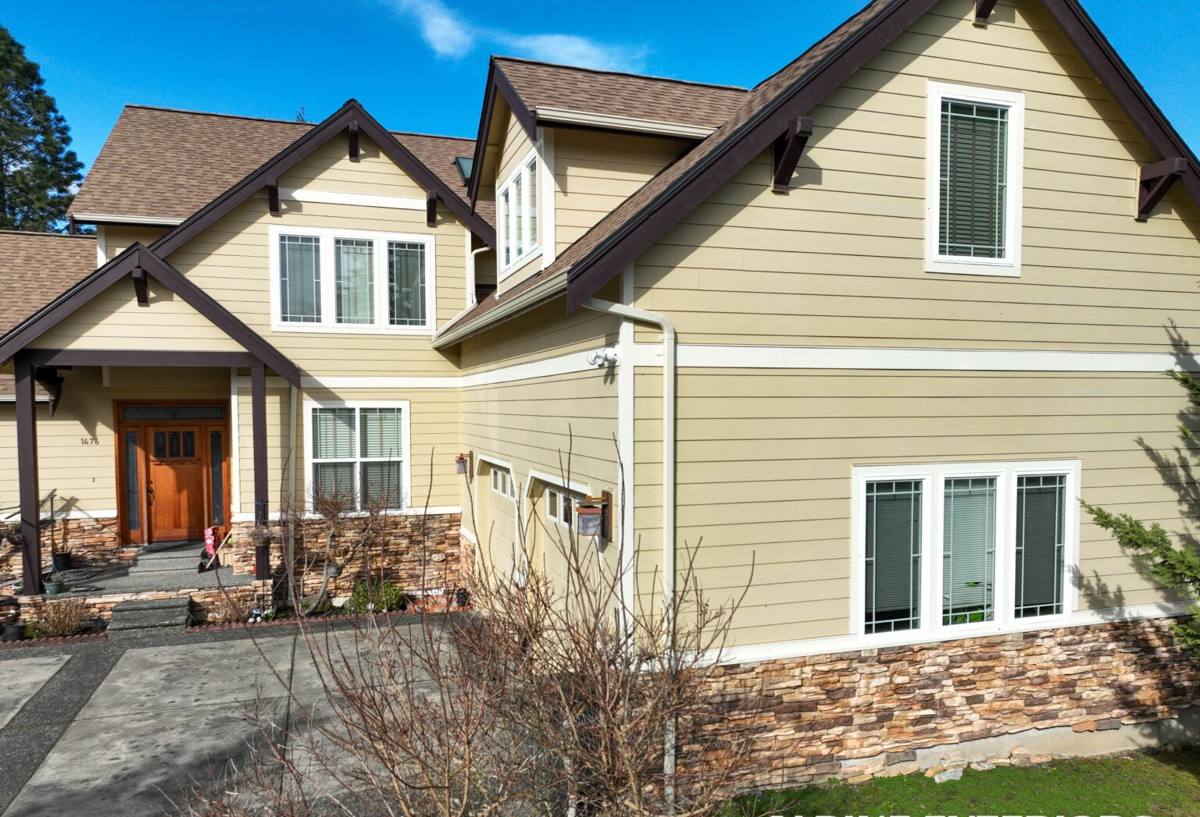
What Oldsmar's Climate Does to a Roof Over Time
Roofs in this part of Florida are under constant, low-grade stress even between named storms. It's worth understanding the specific forces at work, because they determine what a repair needs to hold up against:
- Hurricane-force and tropical-storm wind gusts — these don't just tear roofs off; more commonly they lift shingle edges just enough to break the seal, which then lets wind-driven rain get underneath on the next storm.
- Intense, near-constant UV exposure — Florida sun bakes the asphalt in shingles and dries out the oils that keep them flexible, which is why roofs here often show granule loss and brittleness years before their rated lifespan would suggest.
- Wind-driven rain — rain that comes in at an angle finds its way under flashing, around vent boots, and into any gap that a straight-down rain would never reach.
- Salt air — even homes that aren't waterfront get some exposure to salt in the air, which accelerates corrosion on exposed metal fasteners, flashing, and vent components.
None of these forces act alone. A roof that's already UV-brittle is far more likely to crack or tear when wind loads it, and a fastener that's corroding from salt air loses holding strength right when a storm needs it most. That combination is why storm damage in Pinellas County often looks worse in the repair than it did from the ground.
Why This Matters for a Repair Specifically
A repair that only addresses the visible symptom — say, resealing a lifted shingle — without accounting for the underlying UV brittleness or a compromised fastener nearby, tends to fail again in the next storm. Correct storm repair in this climate means treating the damaged area and checking the material condition immediately around it, not just patching the spot that's obviously broken.
Common Storm Damage We See in This Area
Every home is different, but East Lake and the surrounding Oldsmar neighborhoods tend to show a fairly consistent pattern of storm-related roof problems:
- Wind-lifted or missing shingles, usually starting at ridges, hips, and roof edges where wind pressure is highest.
- Cracked or torn pipe boots and vent seals, which are rubber components that harden and crack under UV exposure and then split open under wind stress.
- Flashing separation around chimneys, skylights, and roof-to-wall transitions, where metal and roofing material meet.
- Granule loss on shingles from wind-driven rain and hail-adjacent debris, which exposes the asphalt underneath to more direct UV damage.
- Debris impact from tree limbs or wind-carried material, which can puncture or crack roofing material without necessarily tearing a visible hole.
- Soffit and fascia damage at the roofline, which allows wind and water intrusion into the attic space even when the main roof field looks intact.
The tricky part is that several of these can exist on a roof at once without being visible from the ground or even from a ladder at the eave. That's part of why a proper storm damage assessment covers the whole roof system, not just the area a homeowner points to.
What a Correct Storm Repair Actually Involves
Full Inspection, Not a Spot Check
A repair that starts with a full-roof walk (weather and safety permitting) or a thorough visual and photo-documented inspection catches secondary damage before it becomes a second service call. We look at the obvious damage area first, then work outward — checking nearby flashing, vent boots, and shingle courses that took the same wind and rain event.
Checking the Decking, Not Just the Surface
Shingles are the visible layer, but the plywood or OSB decking underneath is what actually holds everything together and keeps water out if the surface layer fails. Any area where water has clearly gotten through gets checked for soft or delaminated decking before new material goes down. Repairing over compromised decking just hides a problem that gets worse.
Matching Materials Correctly
Shingle repairs need to match not just color but also the type and wind rating of the existing roof as closely as possible. Mismatched shingle types can create an uneven wear pattern and, in some cases, void portions of a manufacturer warranty if the products aren't compatible.
Flashing and Ventilation Get Checked Together
Flashing failure and attic ventilation issues often show up together after a storm, because both involve the points where the roof isn't a solid, continuous surface. We check that flashing is properly lapped and sealed, and that vents are intact, since a damaged vent is both a leak point and a ventilation problem that affects how the roof handles heat and moisture going forward.
Our Process, Start to Finish
| Step | What Happens |
|---|---|
| 1. Contact & scheduling | You describe the damage and when it happened; we schedule an inspection, prioritizing active leaks. |
| 2. On-site inspection | We assess the full roof, not just the reported damage area, and document what we find with photos. |
| 3. Written estimate | You get a clear scope of repair work and cost range before anything is scheduled — no vague verbal quotes. |
| 4. Insurance coordination (if applicable) | If you're filing a claim, we can provide documentation and meet the adjuster on-site to point out damage. |
| 5. Repair work | Matching materials go in, decking is checked and replaced where needed, flashing and vents are resealed or replaced. |
| 6. Final walk-through | We review the completed work with you before considering the job done. |
Repair vs. Replacement — How We Help You Decide
Not every storm-damaged roof needs to be replaced, and not every roof should be repaired one more time. The right call depends on a few honest factors:
| Factor | Leans Toward Repair | Leans Toward Replacement |
|---|---|---|
| Roof age | Roof is well within its expected service life | Roof is near or past the age where materials are broadly brittle |
| Extent of damage | Damage is localized to one section or a few isolated points | Damage is spread across multiple roof planes |
| Shingle condition nearby | Surrounding shingles are still flexible and well-adhered | Surrounding shingles show widespread granule loss or brittleness |
| Material availability | Matching shingles are still available for a clean match | Existing product is discontinued and won't match |
| Repair history | First or second repair on this roof | Roof has needed repeated storm repairs in recent years |
We'll tell you plainly which category your roof falls into. If a repair is the honest answer, that's what we'll recommend — a full tear-off isn't the right move just because it's a bigger job.
Insurance Claims for Storm Damage
Wind and storm damage is often covered under homeowner's insurance, but coverage details, deductibles, and depreciation schedules vary by policy, so we won't make promises about what your specific policy will pay. What we can do is document the damage clearly with photos and a written scope, and be available to walk an adjuster through what we found. Good documentation, done soon after the storm, tends to make the claims process go more smoothly than trying to reconstruct what happened weeks later.
Why Local Experience in East Lake Matters
A roof in this part of Pinellas County has to handle a specific combination of stresses — coastal-influenced storms, sustained UV, and salt air — that isn't the same everywhere in Florida, let alone outside the state. A crew that regularly works East Lake and the surrounding Oldsmar area knows what kind of damage patterns show up after a given type of storm, what local permitting requires, and how to spot the secondary issues that a less familiar crew might miss. That familiarity translates into faster, more accurate inspections and repairs that are built for what actually hits this roofline, not a generic weather profile.
What to Do After Storm Damage: A Homeowner's Checklist
- Photograph any visible damage from the ground — do not get on the roof yourself after a storm.
- Check attic spaces and ceilings for water stains, sagging, or damp insulation.
- Note the date and type of storm event for insurance purposes.
- Cover active leaks with a tarp only if it can be done safely from an attic or interior access point.
- Avoid patching or repairing the roof yourself before documentation, if a claim is likely.
- Call for a professional inspection promptly — delayed repairs let secondary damage (rot, mold, deck failure) develop.
- Keep records of all communication and estimates related to the damage.
Get an Honest Assessment
If your East Lake home has visible storm damage — or you're just not sure after the last round of wind and rain — a straightforward inspection is the best next step. We'll tell you what we actually find, what it takes to fix it correctly, and what it doesn't need. Fill out the form below for a free, no-pressure estimate.